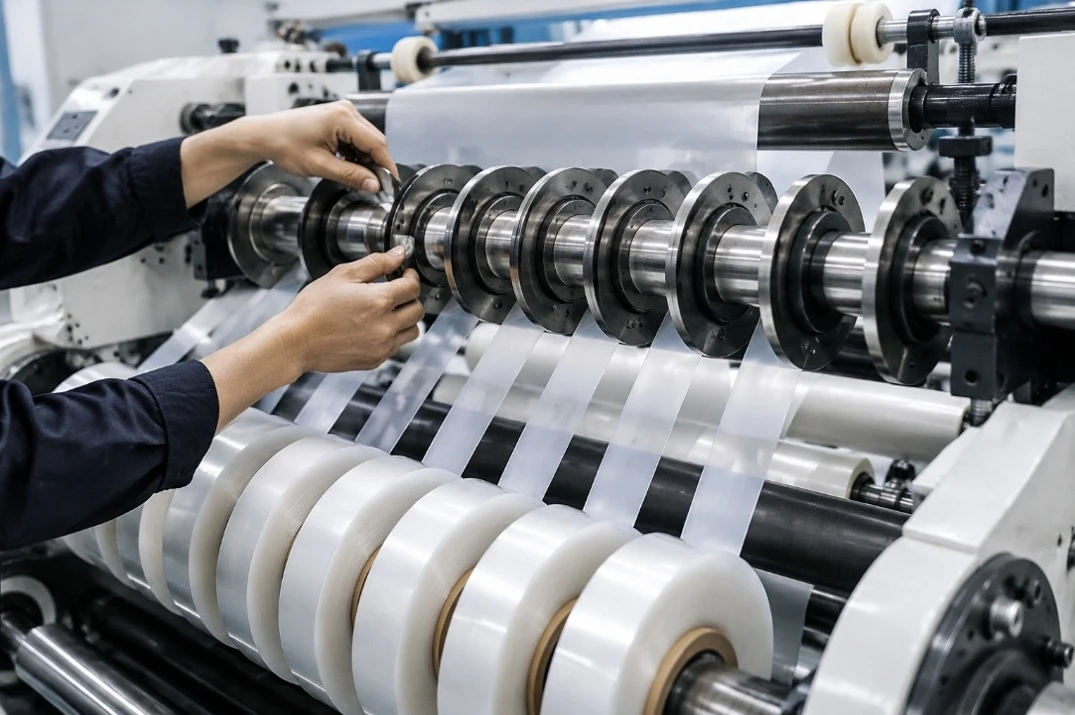
Slitter Rewinder Setup Guide: Step-by-Step Instructions for Better Slitting Performance
Correct slitter rewinder setup is essential for achieving clean slit edges, accurate roll widths, stable web handling, and consistent finished roll quality. Even a well-designed machine can produce wrinkles, telescoping rolls, uneven winding, or inaccurate slit widths when tension, knives, web guiding, and rewinding parameters are not properly configured.
Although specific operating procedures vary between machine models, the basic setup principles are similar for most roll-to-roll slitting applications. This guide explains the main steps for setting up a slitter rewinder for labelstock, paper, PET, BOPP, laminated materials, and other roll substrates.
Step 1: Check the Material and Job Specifications
Before setting up the machine, confirm the material type, thickness, master roll width, unwind diameter, required slit widths, finished roll diameter, core size, and production quantity. The operator should also understand whether the material is printed, laminated, die-cut, or particularly sensitive to tension.
These specifications determine the appropriate knife arrangement, web tension, guiding reference, rewinding settings, and production speed. Recording successful settings for repeat jobs can significantly reduce setup time in future production.
Step 2: Load and Center the Master Roll
Install the master roll securely on the unwind shaft or chuck and confirm that it is properly centered. An incorrectly positioned or poorly wound master roll can create lateral web movement and uneven tension before the material reaches the slitting section.
Check the roll condition for telescoping, damaged edges, uneven winding, or other defects. If the incoming roll itself is unstable, machine adjustments alone may not completely solve the resulting slitting problems.
Step 3: Thread the Web Correctly
Follow the machine’s specified web path through the guide rollers, tension-control components, web guide, slitting section, and rewinding section. Incorrect threading can change the intended wrap angle around rollers and affect tension measurement or web stability.
Make sure the material remains flat and centered during threading. Avoid unnecessary folds or wrinkles, and confirm that all safety guards and required components are correctly positioned before running the machine.
Step 4: Set the Web Guiding System
The web guide should be adjusted before fine-tuning the slitting knives. Depending on the application, the sensor may follow the material edge, a printed line, or another reference.
Position and calibrate the sensor according to the web guide manufacturer’s instructions and check that the actuator moves smoothly. Excessive correction can make the web oscillate, while insufficient correction may allow it to drift away from the required cutting position.
For printed or die-cut label materials, accurate guiding is particularly important because the slit position may need to remain aligned with the printed image or die-cut pattern.
Step 5: Position the Slitting Knives
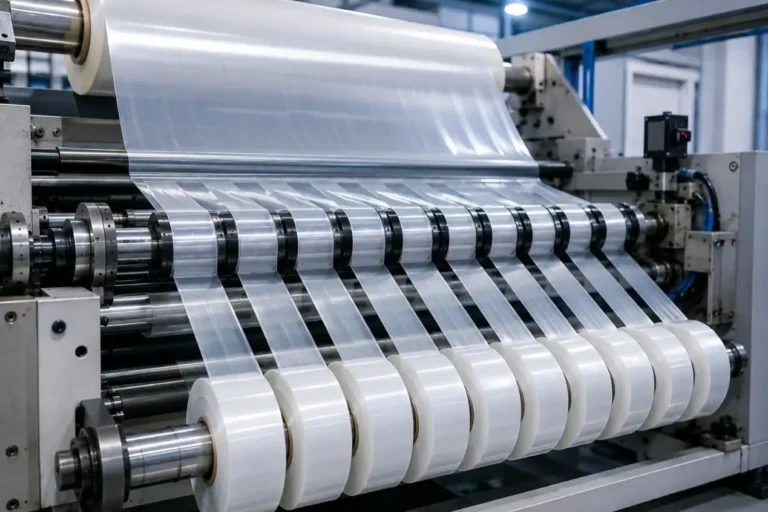
Set the knives according to the required finished roll widths. Knife position should be measured carefully because small setup errors can become unacceptable when several narrow rolls are produced from one master roll.
The correct knife configuration depends on the material. Razor, shear, and crush slitting systems have different applications and adjustment requirements. When using shear knives, overlap, clearance, and side pressure should be adjusted correctly to achieve clean cutting without excessive knife wear or material deformation.
Always inspect knife condition during setup. Dull, damaged, or contaminated knives can create burrs, dust, rough edges, or unstable cutting even when their positions are correct.
Step 6: Set the Unwind Tension
Unwind tension should be high enough to keep the web stable but not so high that it stretches, curls, or deforms the material. Thin films generally require more sensitive tension control than heavier paper or labelstock.
The appropriate value depends on material type, thickness, width, roll diameter, and machine configuration. Start from proven production data or the material and machine supplier’s recommendations rather than applying the same tension setting to every job.
After setting the initial value, observe the web during acceleration because tension that appears stable at low speed may behave differently at normal production speed.
Step 7: Set Rewinding Tension and Taper Tension
Correct rewinding tension is necessary for producing stable finished rolls. Excessive tension can create overly hard rolls, stretching, or core deformation, while insufficient tension may cause loose winding, telescoping, or poor roll edges.
As the finished roll diameter increases, taper tension can gradually reduce winding force to help maintain a more consistent roll structure. When several narrow rolls are rewound simultaneously, differential rewinding can also help compensate for small variations in material thickness and roll diameter.
The objective is not simply to make every roll as tight as possible, but to achieve suitable and consistent roll hardness for the material and downstream application.
Step 8: Run the Machine at Low Speed
After completing the initial setup, run the machine slowly before increasing production speed. Observe web tracking, knife performance, tension stability, slit edges, and rewinding behavior.
Measure the first slit rolls and confirm that the widths meet the required tolerance. Check for burrs, dust, wrinkles, edge movement, telescoping, or uneven winding. Making corrections at low speed reduces the amount of material wasted during setup.
Step 9: Increase Production Speed Gradually
Once the machine is stable at low speed, increase speed gradually while continuing to monitor tension, web position, cutting quality, and rewinding.
Do not assume that settings that work at low speed will automatically remain stable at maximum machine speed. Higher speed increases the demands on tension control, web guiding, knife stability, static control, and rewinding. The practical production speed should be the highest speed at which the required slit quality can be maintained consistently.
Step 10: Inspect and Record the Finished Rolls
After stable production begins, inspect finished roll width, slit edges, winding hardness, roll alignment, and surface condition. Measurements should be taken from several rolls rather than relying on a single sample.
For repeat orders, record material specifications, knife positions, unwind tension, rewind tension, taper tension, web guide settings, production speed, and any other important parameters. A standardized job record allows future setups to start from proven conditions instead of relying on operator memory.
Common Slitter Rewinder Setup Problems
If the web wrinkles during production, first inspect tension, roller alignment, incoming material condition, and web path. If slit edges are rough or contain burrs, check knife condition, knife setup, and whether the selected slitting method is suitable for the material.
When finished rolls telescope or have uneven hardness, the problem is often related to rewinding tension, taper tension, differential winding, material thickness variation, or trapped air. If slit width changes during production, inspect knife positioning, web guiding, web tension, and mechanical stability rather than adjusting the knives immediately.
Troubleshooting one variable at a time makes it easier to identify the real cause.
How to Improve Slitter Rewinder Setup Efficiency
Standardization is one of the easiest ways to reduce setup time. Create job records for commonly processed materials and keep successful tension, knife, speed, and rewinding parameters for repeat orders. Operators should also follow the same inspection procedure before starting each production run.
Modern servo-driven slitter rewinders can provide more precise tension control, automatic web guiding, controlled acceleration and deceleration, and flexible rewinding configurations. These features improve repeatability, but correct knife setup, suitable material parameters, preventive maintenance, and operator experience remain essential for consistent slitting performance.
Conclusion
A successful slitter rewinder setup requires the complete web-handling process to work together. Material inspection, correct web threading, accurate knife positioning, stable web guiding, suitable unwind tension, controlled rewinding, and gradual speed adjustment all contribute to better slitting results.
By checking the first finished rolls carefully and recording proven production settings, converters can reduce setup waste, improve slit width accuracy, achieve cleaner edges, and produce more consistent finished rolls. The best setup is not simply the fastest one, but the one that delivers stable and repeatable quality throughout the production run.